Address
114 Liechtensteinstrasse Vienna - Austria
Work Hours
Everyday: 8AM - 23PM
 Skip to content
 Address
114 Liechtensteinstrasse Vienna - Austria
Work Hours
Everyday: 8AM - 23PM
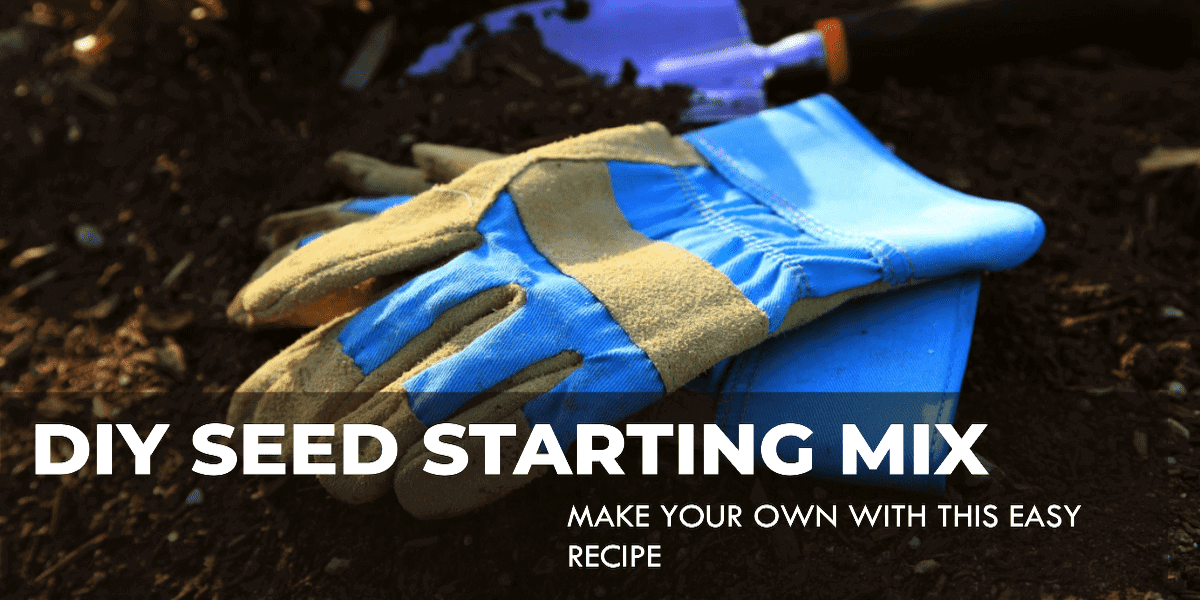
Seed Starting Mix For Flower Seeds: As buying seed starting medium can be expensive, I developed my own mixture for a cost-effective alternative.
The best mix is this one, and it’s also really simple to make. I’ll offer my recipe and step-by-step instructions for making DIY seed-beginning soil in this post.
One of the first inquiries I receive from novice gardeners when I discuss indoor seed starting is regarding the ideal potting soil mixture.
This is a crucial question to ask since the type of soil you use to cultivate seeds can make all the difference in the world to your success!
A typical error when planting seeds indoors is to use the incorrect type of soil. New gardeners frequently believe that “dirt is dirt.”
Hence, they either purchase a cheap potting mix or, worse yet, attempt to use garden soil. This is a formula for disaster, my friend.
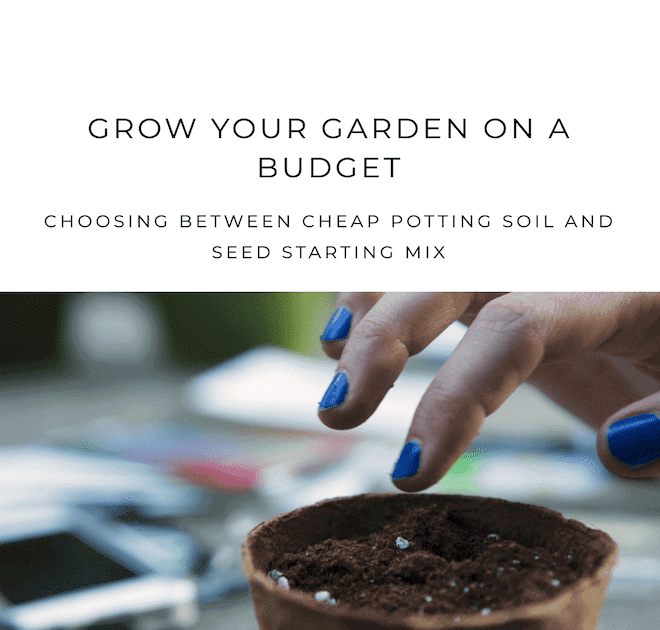
Because they will compact in containers, inexpensive potting soil and garden soil cannot be used to cultivate seeds indoors.
When that occurs, seed germination and the development of the vulnerable seedling roots become extremely challenging, if not impossible.
The dirt should remain soft and fluffy in your seed-starting medium so that the seeds can germinate much more easily.
A porous seedling mix also allows for plenty of air around the roots for healthy seedling growth.
The finest potting soil to use for seed starting indoors actually shouldn’t contain any soil at all.
A soilless seed-starting mix that is quick-draining and retains moisture is the ideal seed-starting medium to use for growing seeds inside (sounds like a funny combo, I know).
Almost anywhere that sells seeds also sells quality seed starter mixtures, or you may make your own DIY seed beginning mixture.
Making my own handmade seed starter mix is so simple, and it offers me the freedom to change the components to suit my preferences.
Also, I don’t need to have a large bag of seed starting mix around; I may prepare as much or as little as I need for beginning my seeds.
I developed my own recipe for soilless seed starting mix primarily because I had a lot of the materials lying around from other potting soil recipes. Furthermore, due to the high cost of pre-made seed starting mixtures
Nevertheless, I also wanted to make sure that you could easily find the ingredients so that I could share my recipe with you.
These are all regular elements that may be purchased anywhere potting soil is sold, at your neighborhood garden center, or whenever you want to order it online.
There are only three essential components required to build your own seed starter mix: Wildflower Seed Mix
Peat moss or coco coir Pumice, perlite, or vermiculite Garden lime (only needed if you use peat moss)
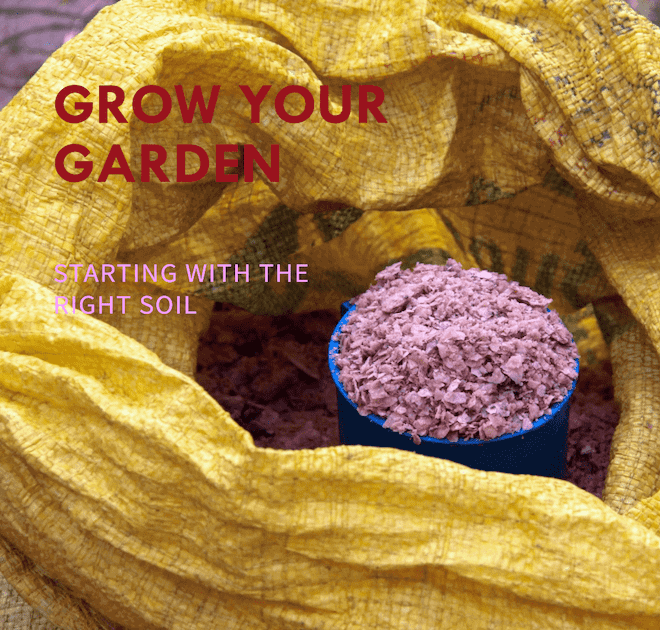
Whatever base item you decide to use for your own seed-starting mixture, coco coir or peat moss is OK. Peat moss has a few drawbacks in comparison to coco coir.
You should add some garden lime to the mixture to balance out the acidity if you decide to use peat moss because it has the drawback of being slightly acidic.
Peat moss’s lack of sustainability as compared to coco coir is another drawback. Although peat moss may be replenished, the process is relatively slow, making it less environmentally beneficial.
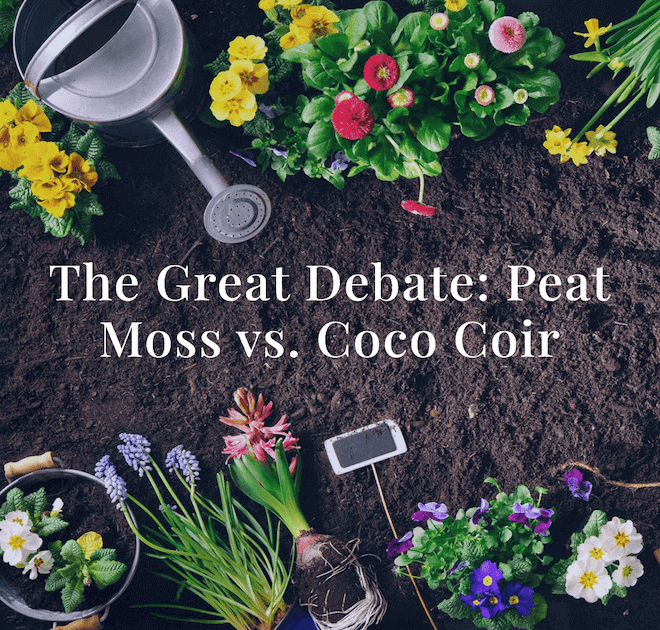
On the other hand, planting seedlings in coco coir, a byproduct of processing coconut, is very sustainable.
It’s a fantastic addition to any DIY soil mixture, and I really enjoy the way it feels. It’s my favorite option to incorporate into my own seed-starting mixture!
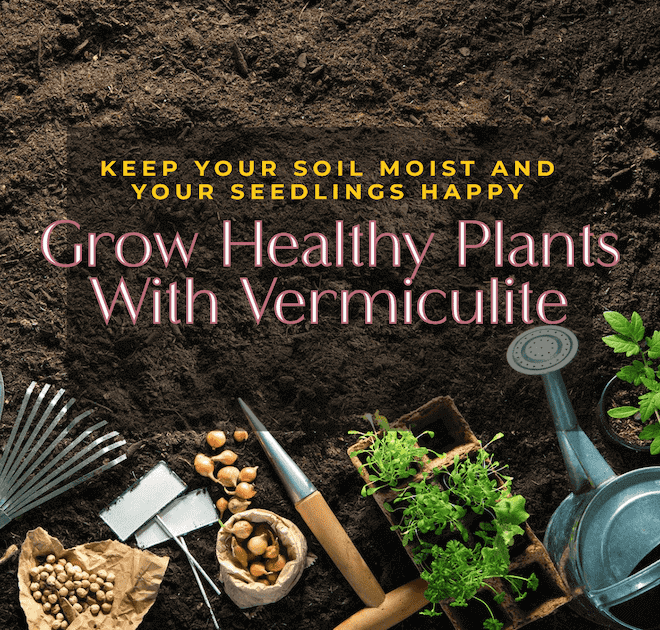
A naturally occurring mineral called vermiculite is frequently used in seed-starting soil. That’s because it aids in soil moisture retention.
Vermiculite helps to keep the soil equally moist, so you won’t have to water it as frequently because seedlings can’t tolerate dried-out dirt.
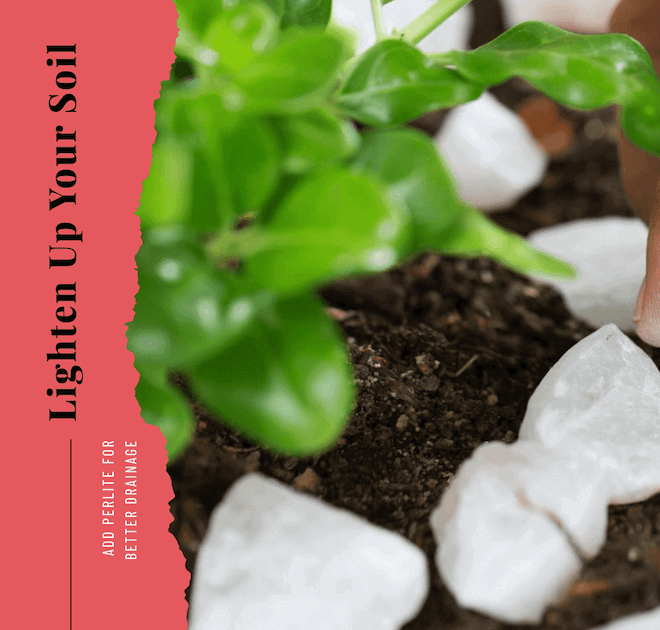
A very light soil addition is perlite. You can find the white, Styrofoam-like particles in many commercial potting soils.
It prevents soil compaction and holds very little moisture. In other words, perlite makes the mixture porous and speeds up soil drainage, which is ideal for germinating seeds.
In many garden centers and home improvement stores, perlite is available for purchase in the same aisle as potting soil.
Pumice is a fantastic substitute for perlite if you can’t locate it at your neighborhood garden retailer.
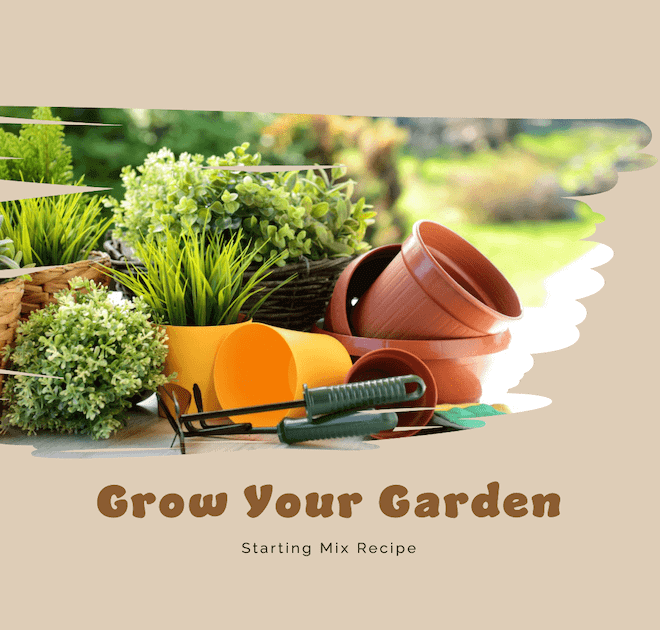
You’ll also need a few extra items to help you measure and combine your seedling mix ingredients and other substances. So gather these things before beginning
measuring device (I usually use a 1 cup measure) A large mixing spoon or a trowel jar used for blending (I use a bucket or my tabletop potting tray to mix mine) Starter trays for seeds
8 pieces (pre-moistened) Peat moss or coco coir 1 component vermiculite 1 component pumice or perlite per gallon; use 1 tablespoon of garden lime (if you use peat moss) (A batch that fills one commercial seed starting tray using a one-cup measure as your “part”)
A “part” is what? when I discuss the creation of potting soil. A part is merely a general unit of measurement for ingredient portioning.
As long as you use the same thing for each “part,” you can use whatever you like for your component. For instance, this recipe would translate to 8 cups coir, 1 cup vermiculite, and 1 cup perlite if you used a 1 cup measure as your portion.
It’s simple to make your own seed-starting mixture. Put all the ingredients in a bowl or bucket first. Just mix the materials together with a spoon or trowel until they are thoroughly combined. After the components are combined, you can immediately fill your seedling trays and begin sowing seeds.
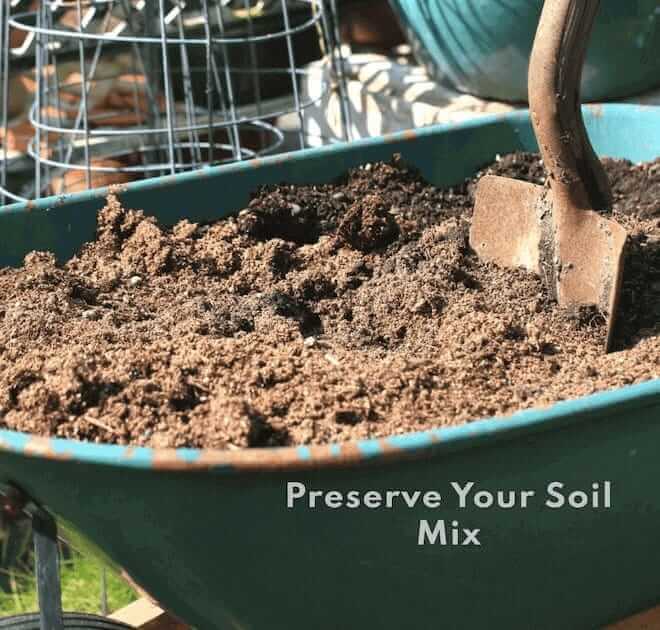
To ensure that I always have seed starting mix on hand when I need it, I like to make up a large batch and then store it in a plastic bucket in the garage.
Whether you decide to purchase commercial seed-starting soil or create your own homemade seed starting mix, to prevent attracting bugs, be careful to store any excess soil in an airtight container.
These airtight seal lids fit on any typical five-gallon bucket and do a wonderful job of keeping bugs out. Making your own soil allows you to experiment with various mixtures, which is the finest part.
Add extra vermiculite the next time if you see that the soil is drying out too rapidly. Add more perlite to your mixture if it’s getting too wet. It’s simple and inexpensive to make your own DIY seed-starting mixture. You can either use it now or put it away for later. There is no time limit! You can pot up your seedlings using this homemade recipe as well!
Comments are closed.
 Optimized by Seraphinite Accelerator


As a gardener who’s always looking for ways to save money and reduce my environmental impact, I was excited to find this article on making my own seed starting mix. The recipe is simple to follow and uses readily available ingredients, so I was able to get started right away. I’m so glad I did, because my seedlings have been thriving in this homemade mix. They’re strong, healthy, and have a much higher germination rate than seedlings I’ve started with store-bought seed starting mix. I highly recommend this article to anyone who’s looking for a cost-effective and environmentally friendly way to start their seeds.